Introduction
This guide provides a complete maintenance checklist and step‑by‑step instructions for folding electric scooters. One will learn how to inspect, clean, adjust, and replace critical components to ensure reliable performance. Regular maintenance extends the lifespan of the scooter and reduces the likelihood of unexpected breakdowns. By following the procedures outlined herein, riders can enjoy a smoother, safer, and more efficient riding experience.
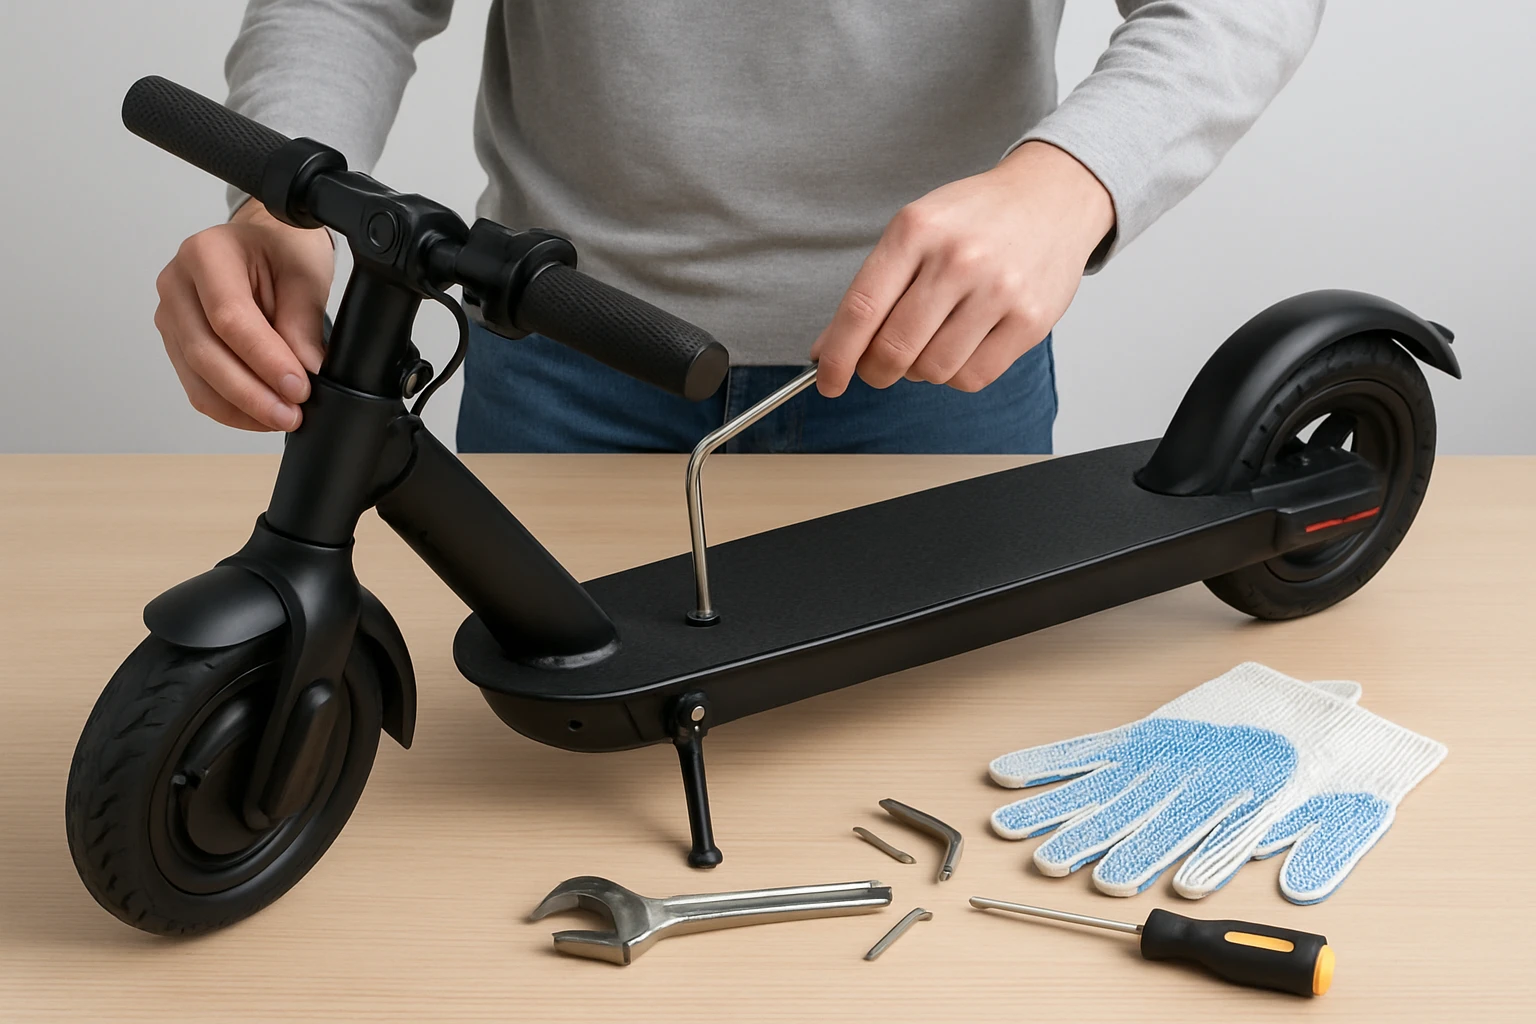
What You'll Need
- Multi‑function tool kit such as the ROCKBROS 14‑in‑1 Bike Tool Kit – $19.99, rating 4.4/5
- Folding lever tool for scooter hinges – PETiB Folding Lever Tool – $7.83, rating 5/5
- Rear mudguard for splash protection – Yungeln Scooter Rear Mudguard – $17.99, rating 4/5
- Kickstand for stable parking – Yungeln Kickstand – $9.89, rating 4.4/5
- Solid tires for puncture‑free rides – Cooryda Solid Tires – price varies, rating not listed
- Cleaning cloth, mild detergent, lubricant spray, and a small bucket of water
Step‑by‑Step Instructions
1. Safety First and Preliminary Inspection
Before beginning any maintenance work, disconnect the scooter from its power source and remove the battery if it is removable. Inspect the frame for cracks, loose bolts, and signs of corrosion; any structural damage should be addressed by a professional technician. Verify that the folding lock mechanism engages securely and that the handlebar height locks in place without wobble. This initial assessment helps identify problems that may require immediate attention.
2. Clean the Exterior and Moving Parts
Use a soft cloth dampened with mild detergent to wipe down the scooter frame, handlebars, and footboard. Avoid spraying water directly onto electronic components; instead, apply cleaning solution to the cloth and gently scrub. For the wheels and folding hinges, remove dust and debris with a brush; this prevents wear on bearings and moving joints. After cleaning, dry all surfaces with a clean towel to prevent moisture‑induced corrosion.
3. Inspect and Tighten Fasteners
Using the ROCKBROS 14‑in‑1 Bike Tool Kit, locate the appropriate hex key or screwdriver for each bolt. The kit includes H2.5 through H8 hex keys, slotted and Phillips screwdriver bits, and a reversible ratchet wrench, making it suitable for the majority of scooter fasteners. Tighten any loose screws on the handlebar clamp, footboard brackets, and motor housing, but avoid over‑tightening, which can strip threads.
4. Service the Folding Lever Mechanism
The folding lever is a critical safety component; it must operate smoothly and lock firmly. Apply a small amount of lubricant spray to the pivot points, then use the PETiB Folding Lever Tool to adjust the tension if the lever feels loose. This tool is specifically engineered for scooter folding mechanisms, providing a precise fit without requiring additional modifications. After adjustment, test the lever by folding and unfolding the scooter multiple times to confirm secure locking.
5. Check Wheel Alignment and Bearings
Spin each wheel by hand and observe for wobbling or grinding noises, which indicate misalignment or worn bearings. If the wheel does not rotate freely, remove it using the appropriate socket from the multi‑function tool kit. Inspect the bearing cups for debris; clean them with a cloth and apply a thin layer of bearing grease. Reinstall the wheel, ensuring that the axle bolts are tightened to the manufacturer’s torque specifications.
6. Replace or Upgrade Tires
For riders who prefer puncture‑free operation, the Cooryda Solid Tires provide a durable alternative to pneumatic tires. To install, warm the solid tire in boiling water for fifteen minutes as instructed, then carefully fit it onto the wheel rim. The honeycomb design offers excellent shock absorption and resistance to punctures, making it ideal for urban environments with debris‑filled streets. Verify that the tire is seated evenly before re‑attaching the wheel.
7. Install Rear Mudguard for Weather Protection
The rear mudguard shields the rider from splashes and protects the scooter’s rear wheel from mud and debris. Align the mudguard with the mounting holes on the scooter frame and secure it using the included screws. The Yungeln Scooter Rear Mudguard is constructed from high‑strength ABS and PC materials, offering durability while remaining lightweight. Ensure that the guard does not interfere with wheel rotation.
8. Attach a Kickstand for Stable Parking
A kickstand provides a convenient way to park the scooter upright without leaning against a wall. Position the Yungeln Kickstand on the designated mounting area on the scooter’s underside and secure it with the two supplied screws. The aluminum alloy construction resists deformation and rust, ensuring long‑term reliability. Test the stability by placing the scooter on the stand and confirming that it remains balanced.
9. Final Functional Test
After completing all adjustments, re‑install the battery and power on the scooter. Verify that the throttle responds smoothly, the brakes engage firmly, and the lights illuminate correctly. Perform a short test ride on a flat surface, listening for unusual noises and feeling for vibrations. If any issue persists, revisit the relevant step or consult the troubleshooting section.
Tips & Pro Tips
- Perform a full maintenance routine at least once every three months, or more frequently if the scooter is used daily.
- Store the scooter in a dry environment to prevent moisture‑related corrosion on metal components.
- When lubricating moving parts, use only a light, non‑conductive spray to avoid electrical interference.
- Keep a spare set of the recommended tools in a small pouch attached to the scooter for on‑the‑go adjustments.
- Document the dates of each maintenance session in a logbook to track wear patterns over time.
Troubleshooting
Problem: Scooter does not power on after maintenance.
Solution: Check that the battery connector is fully seated and that no stray metal objects are short‑circuiting the terminals.
Problem: Brakes feel spongy.
Solution: Bleed the brake lines if the scooter uses hydraulic brakes, or adjust the cable tension using the multi‑function tool kit.
Problem: Folding lever does not lock securely.
Solution: Re‑apply lubricant and use the PETiB Folding Lever Tool to tighten the adjustment screw until the lever engages firmly.
Conclusion
By following this comprehensive checklist, one can maintain a folding electric scooter in optimal condition, ensuring safety, performance, and longevity. Regular inspection, cleaning, and adjustment of key components prevent costly repairs and provide a more enjoyable riding experience. The recommended tools and accessories simplify each maintenance task, but the guide remains valuable even without purchasing them. Adopt this routine as part of your weekly scooter care to ride with confidence.
Products Mentioned in This Guide
Frequently Asked Questions
How often should I perform a full maintenance check on my folding electric scooter?
Perform a full inspection every 30 days or after 500 miles, whichever comes first.
What basic tools are required for routine scooter maintenance?
A multi‑function bike tool kit, a folding lever tool, and a kickstand are essential for most tasks.
How can I tell if the scooter’s brakes need adjustment?
If the brake lever feels spongy or the scooter takes longer to stop, tighten or replace the brake pads.
What is the best way to care for the scooter’s battery?
Keep the battery between 20% and 80% charge, store it in a cool dry place, and avoid full discharges.
How do I maintain the folding hinge to ensure smooth operation?
Clean the hinge of debris, lubricate with a light oil, and tighten any loose screws using the folding lever tool.